Introduction
ServiceNow is a cloud-based platform that provides various IT service management (ITSM) and business process automation solutions. It is designed to help organizations streamline their IT operations and improve overall efficiency
ChatGPT is a language model developed by OpenAI, specifically the GPT (Generative Pre-trained Transformer) architecture. It's designed to generate human-like text based on the input it receives. OpenAI has implemented safety mitigations to prevent ChatGPT from developing harmful or inappropriate content
Prerequisites
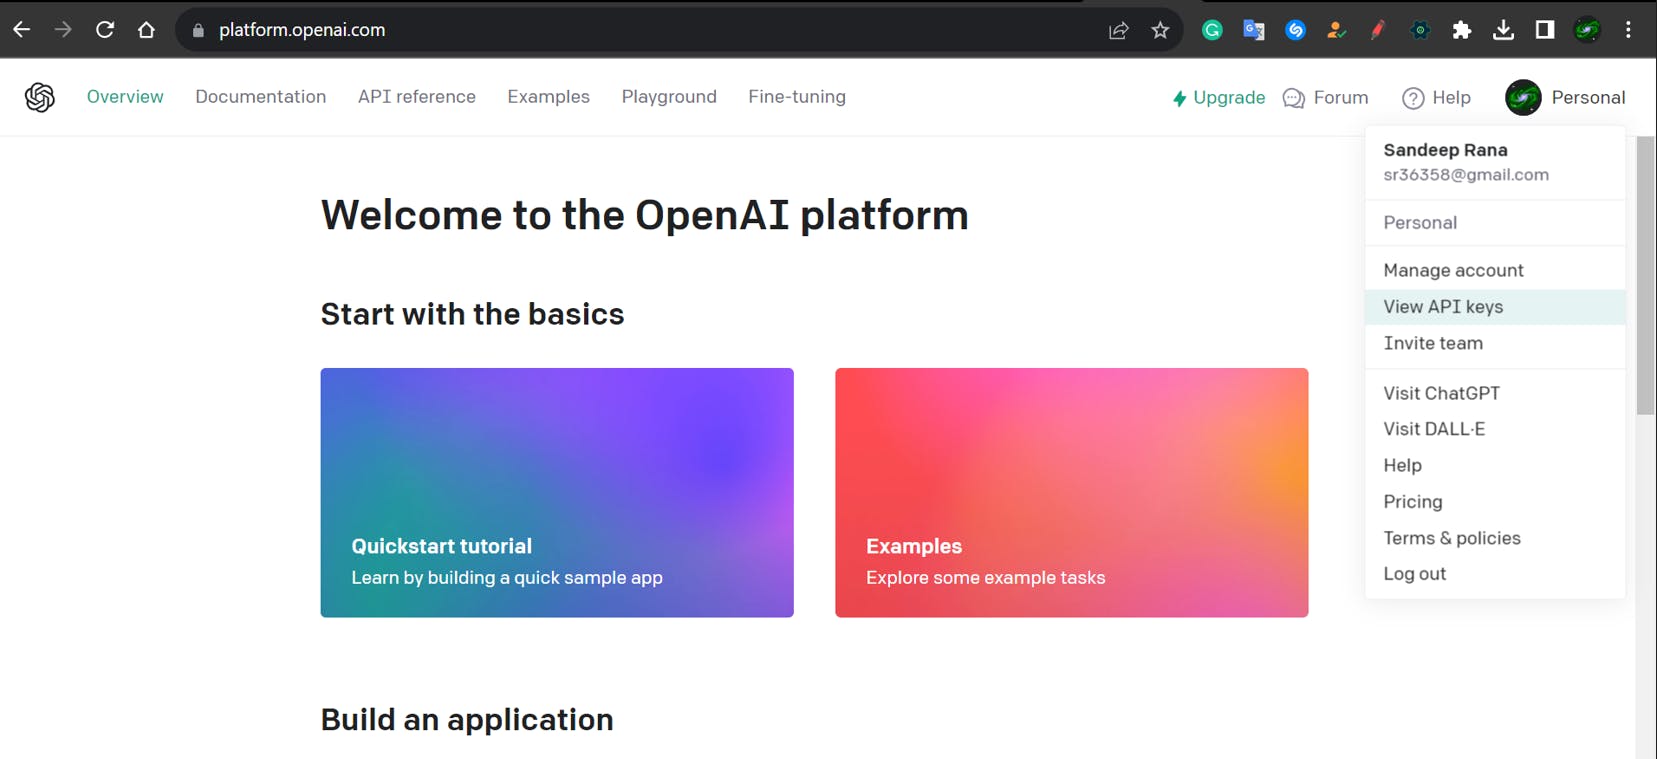
Create a free account in ChatGPT using https://openai.com/
Generate an API key
Store this key for future purpose


ServiceNow Journey Starts Here
Note: You can use any Application and try to capture the process in an update set.
1) Setting up Rest Messages
1) Navigate to ServiceNow Instance and Search For Rest Message in Application Navigator.
2) Open The Application and Click New
3) Populate the following value.

4) Endpoint is the end URL or the URL from where we are trying to request or send data. In this scenario, the endpoint is the ChatGPT API i.e. api.openai.com/v1/chat/completions
5) Save the form.
6) Scroll down to Authentication and HTTP Request Tab and switch to HTTP Request.
7) Populate the Key as Authorization and Value as Bearer <YOUR_API_KEY>

8) Save the form scroll down to HTTP Methods and Click New

9) Populate the following fields

10) Populate HTTP Requests Headers

11) Populate the Content

12) Populate the variable Substitutions

Note: Test values are only for tests and won't affect the application.
13) Save the form and click Test

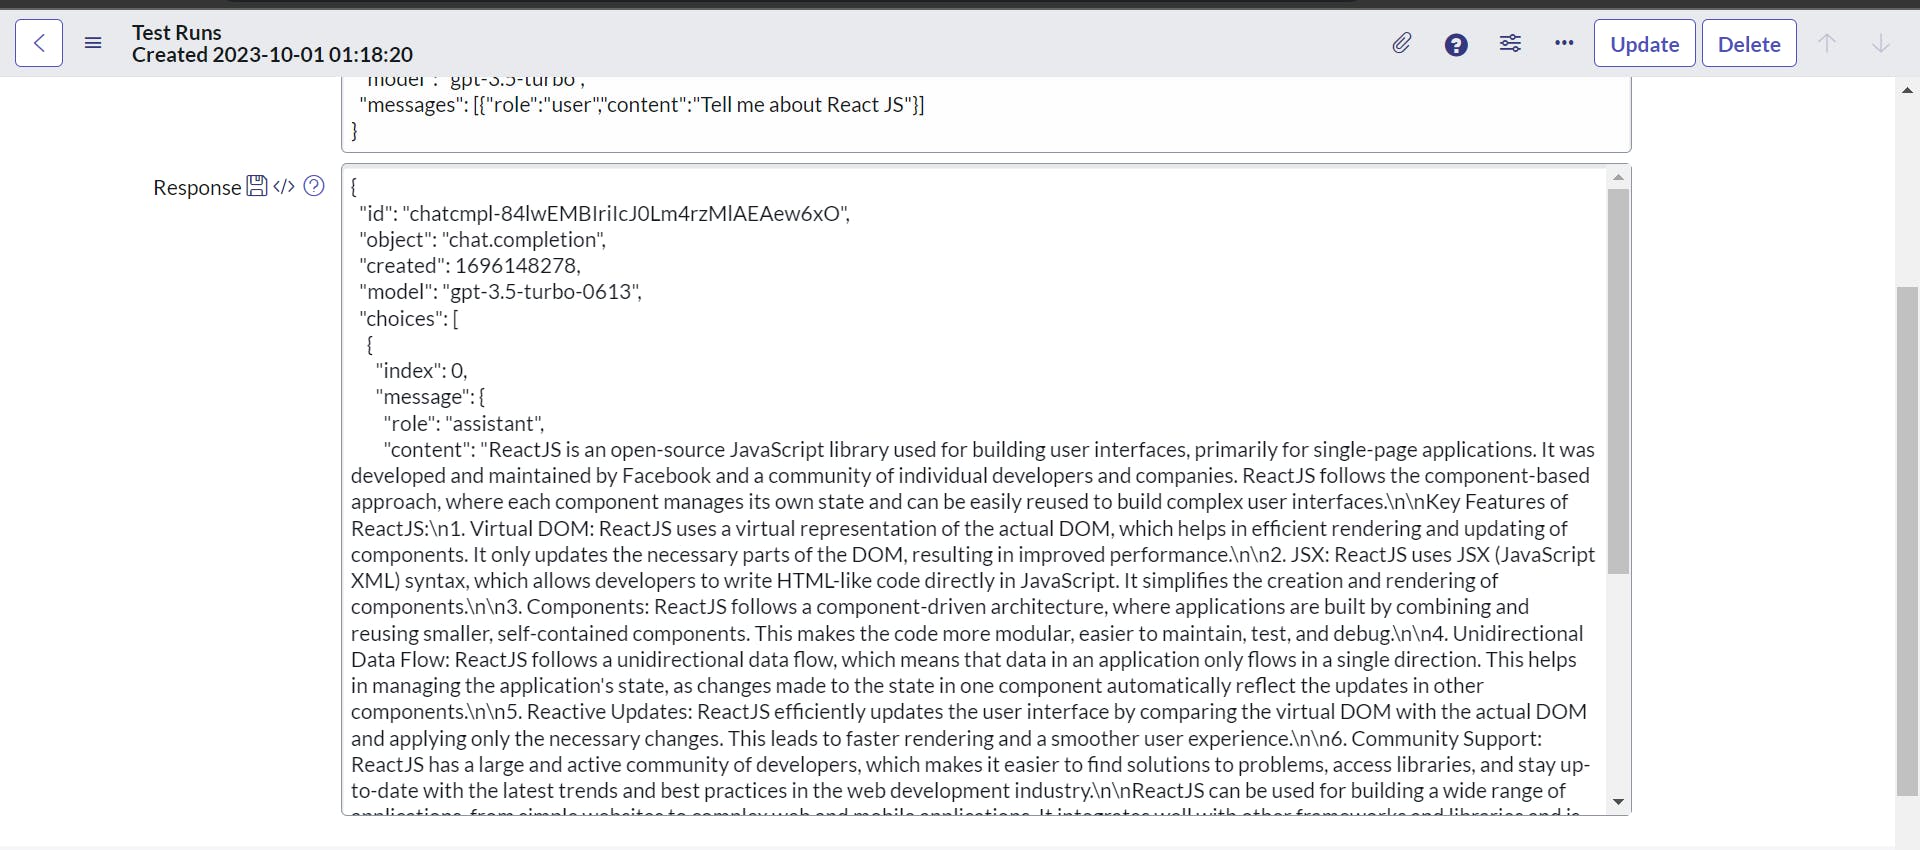
14) The response should be in this format

2) Setting up Tables And Fields [optional]
Note: You can skip this step if you want to use the AI functionality directly in an existing table
1) To create a table, navigate to Tables, Click New, and Create A Tabke
2) Create one Question and one Answer Field for the table as shown below
3) The form view should look like the below image

Note: It is optional to make the field mandatory.
3) Create a UI Action
1) Navigate to UI Action and create a new UI Action
2) Populate the following fields

Note: The Form Style could be anything and it is not necessary that you also use Primary as the Form Style
Note: The Action name should be unique
3) Scroll down to onClick and Populate the value as runClientCode();
This will be the function's name that will execute the client script in the script section.
Note: You can name the function anything. For this blog , I am using runClientCode as the function name.

4) Use the below-mentioned code in the Script Section
function runClientCode() {

    gsftSubmit(null, g_form.getFormElement(), 'ask_gpt');
    //let's you write client and server code in the same script
    //Format:  gsftSubmit(null, g_form.getFormElement(), UI Action Unique Action Name);
}


//Server-side
if (typeof window == 'undefined')
    runServerCode();

//Server-side function
function runServerCode() {

    var question = current.u_ask_any_question;
    // current.u_ask_any_question represent your question field

    var r = new sn_ws.RESTMessageV2('ChatGPT', 'ChatGPT - Get Answers');
    r.setStringParameterNoEscape('question', question);
    var response = r.execute();
    var responseBody = response.getBody();
    var parsedBody = JSON.parse(responseBody);
    var output = parsedBody.choices[0].message.content;
    current.u_your_answer = output.trim();

// current.u_your_answer represents your answer field
    current.update();
    action.setRedirectURL(current);

}
Note: You can generate a script from your Rest Message as shown below

4) Testing
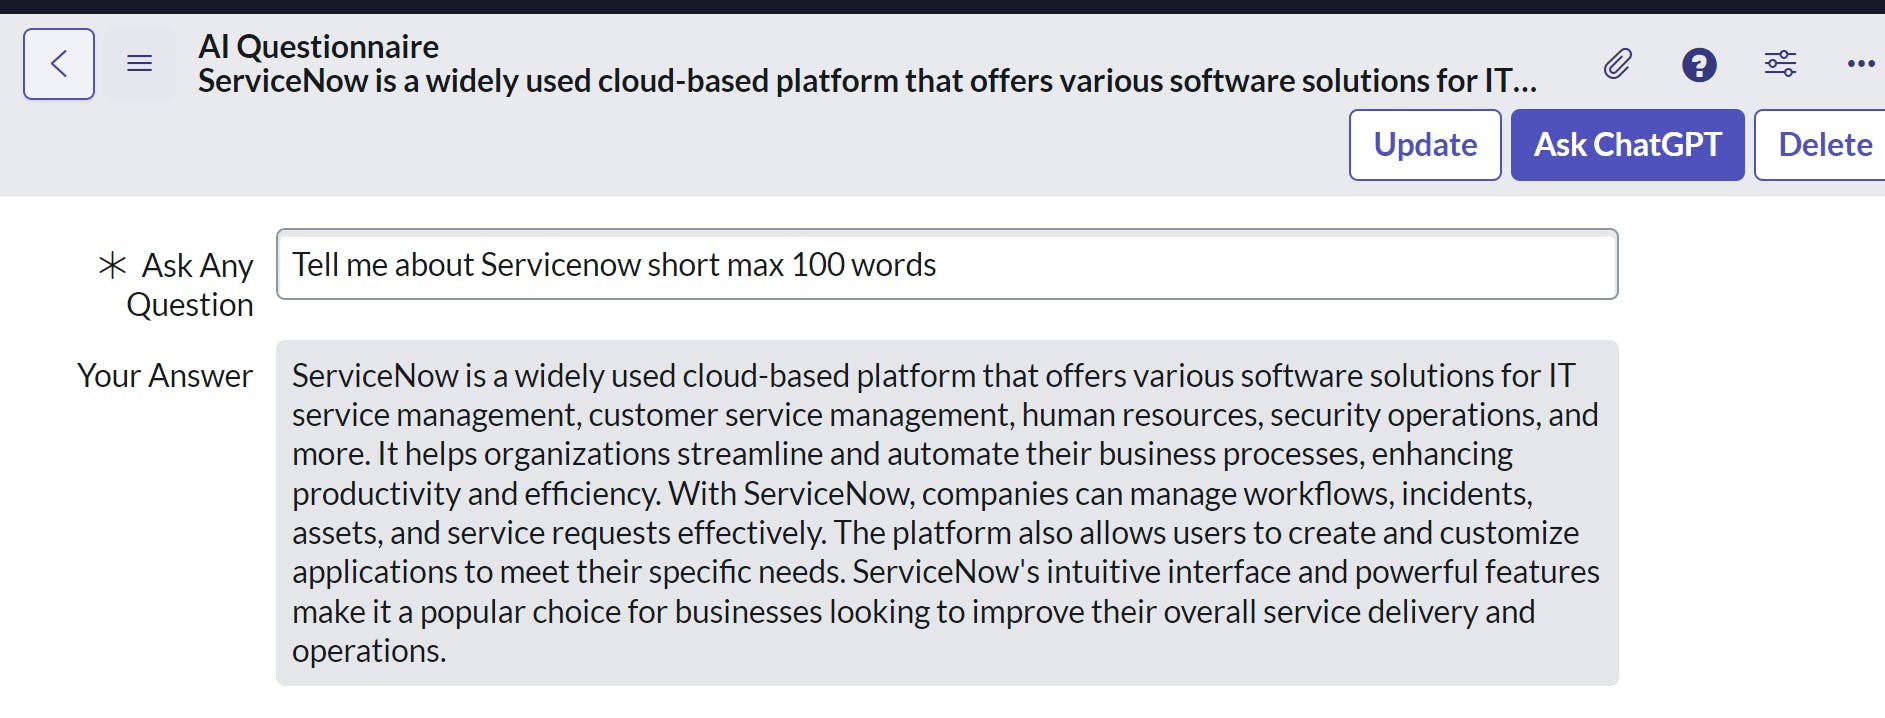
Now your application is integrated to ChatGPT and now you can ask any question and on clicking the UI action will generate the answer from ChatGPT
A) Go to your case form
B) Ask a question
C) Click UI Action to generate output.


Ending Note
Integrating ChatGPT with ServiceNow can be useful and the applications and benefits are unlimited.
You can visit the repository to download the update set directly.
