Integrating ServiceNow Virtual Agent With ChatGPT
ServiceNow Series

Introduction
ServiceNow is a cloud-based platform that provides various IT service management (ITSM) and business process automation solutions. It is designed to help organizations streamline their IT operations and improve overall efficiency
ChatGPT is a language model developed by OpenAI, specifically the GPT (Generative Pre-trained Transformer) architecture. It's designed to generate human-like text based on the input it receives. OpenAI has implemented safety mitigations to prevent ChatGPT from developing harmful or inappropriate content
Prerequisites
Basic Knowledge About The Rest Message And Virtual Agent
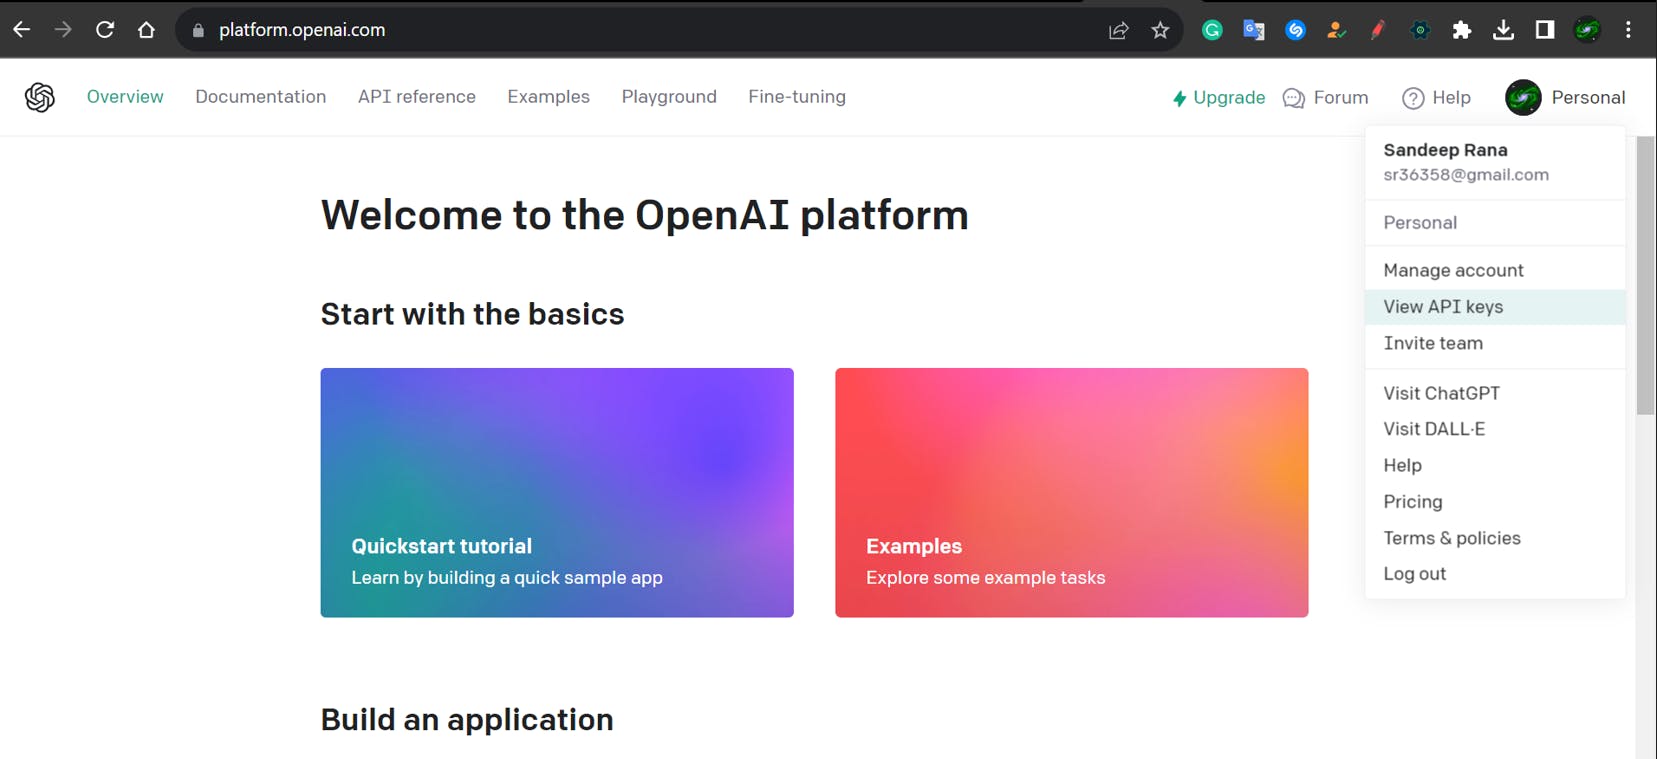
Create a free account in ChatGPT using https://openai.com/
Generate an API key
Store this key for future purpose

ServiceNow Journey Starts Here
Please Note: This is a multi-round conversation with ChatGPT via Virtual Agent; Same logic can be used for single-round conversation as well.
Note: You can use any Application and try to capture the process in an update set.
1) Setting up Rest Messages
Navigate to ServiceNow Instance and Search For Rest Message in Application Navigator.
Open The Application and Click New
Populate the following value.

The endpoint is the end URL or the URL from where we are trying to request or send data. In this scenario, the endpoint is the ChatGPT API i.e. api.openai.com/v1/chat/completions
Save the form.
Scroll down to Authentication and HTTP Request Tab and switch to HTTP Request.
Populate the Key as Authorization and Value as Bearer <YOUR_API_KEY>

- Save the form scroll down to HTTP Methods and Click New

- Populate the following fields

- Populate HTTP Requests Headers

- In the HTTP Query Parameters, populate the following code in the content field
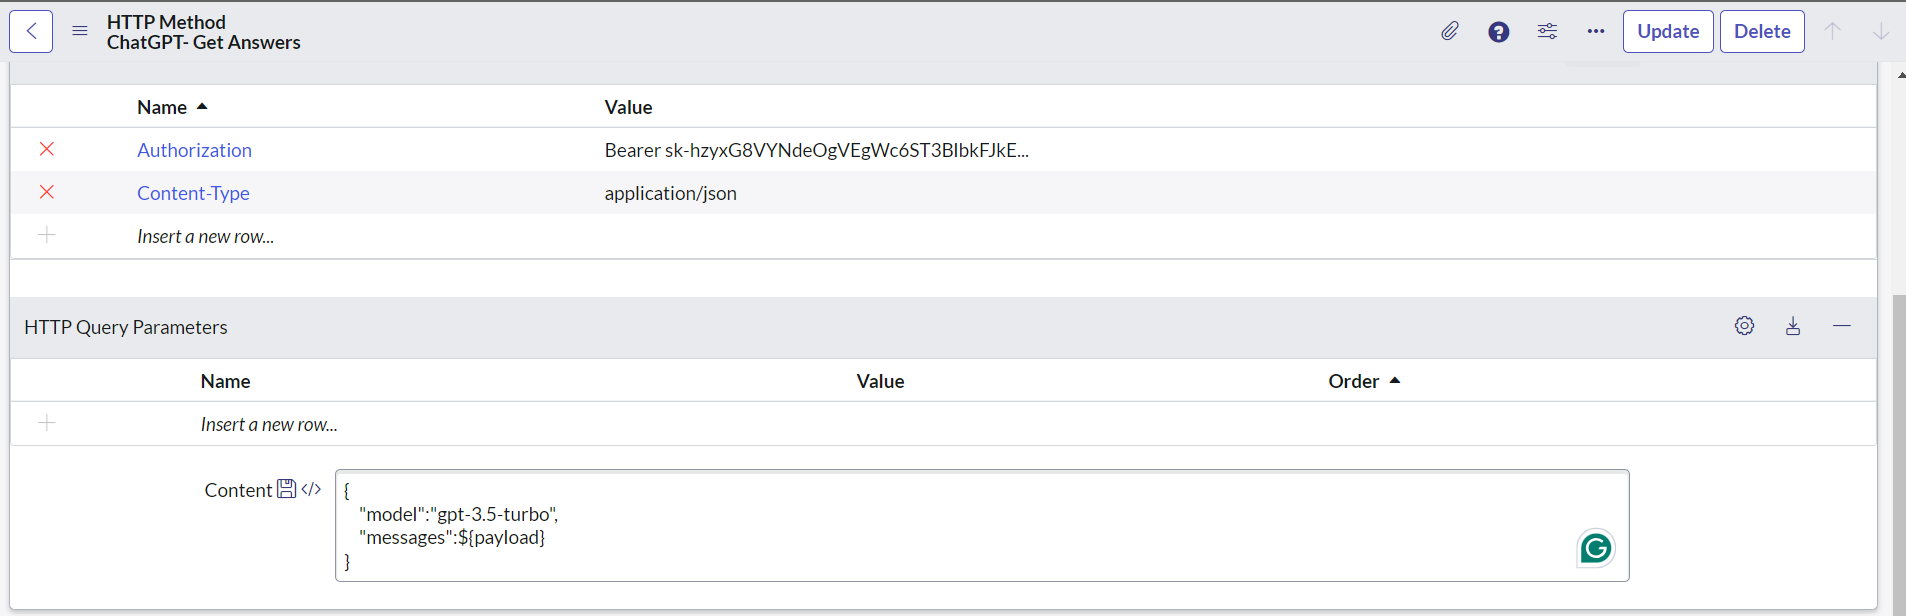
{
    "model":"gpt-3.5-turbo",
    "messages":${payload}
}
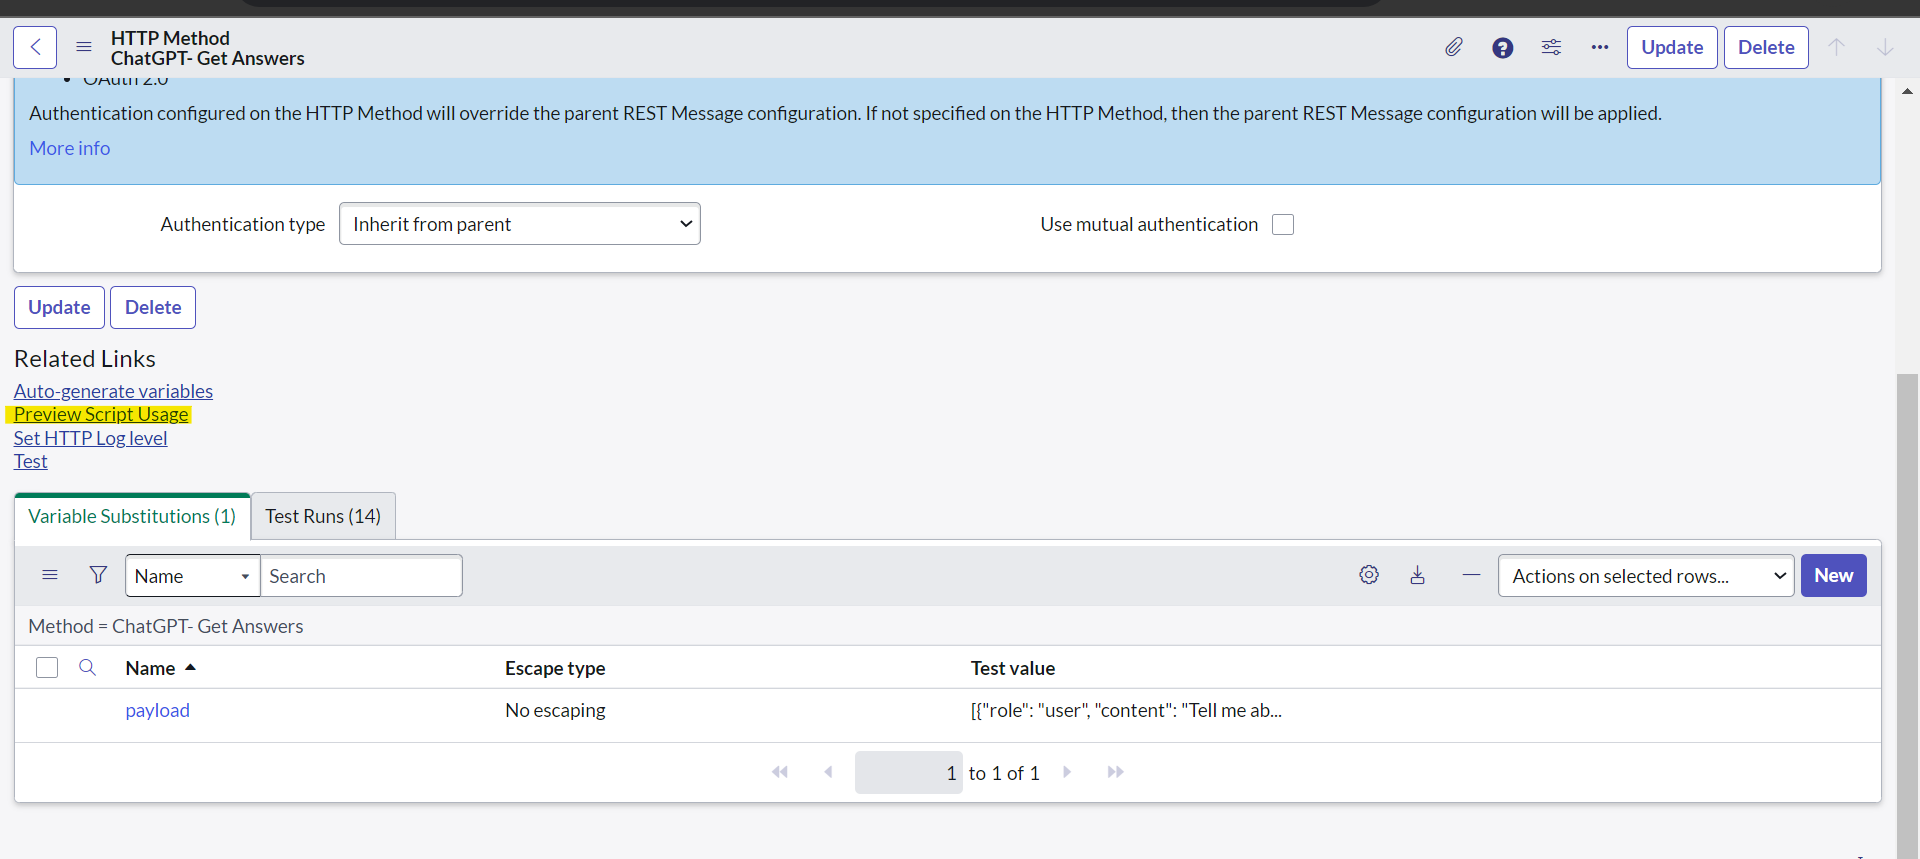
- In the Variable Substitution related list, create a variable and name it payload. (Test Value is optional).

Optional Step: You can set the test value. In this case, my test value is
[{"role": "user", "content": "Tell me about React JS"}]
- Save the form.
2) Developing the Virtual Agent.
Note: Virtual Agent Plugins must be installed before this activity.
A) Creating a Topic Block
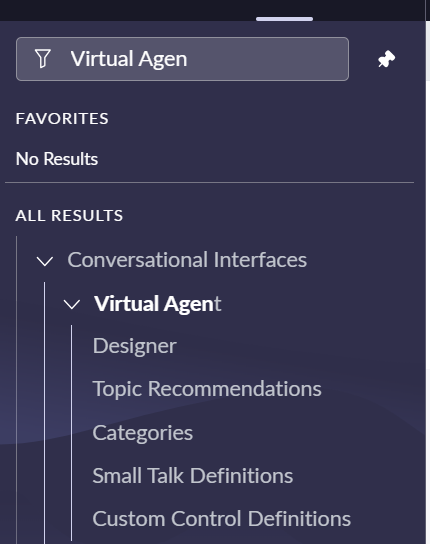
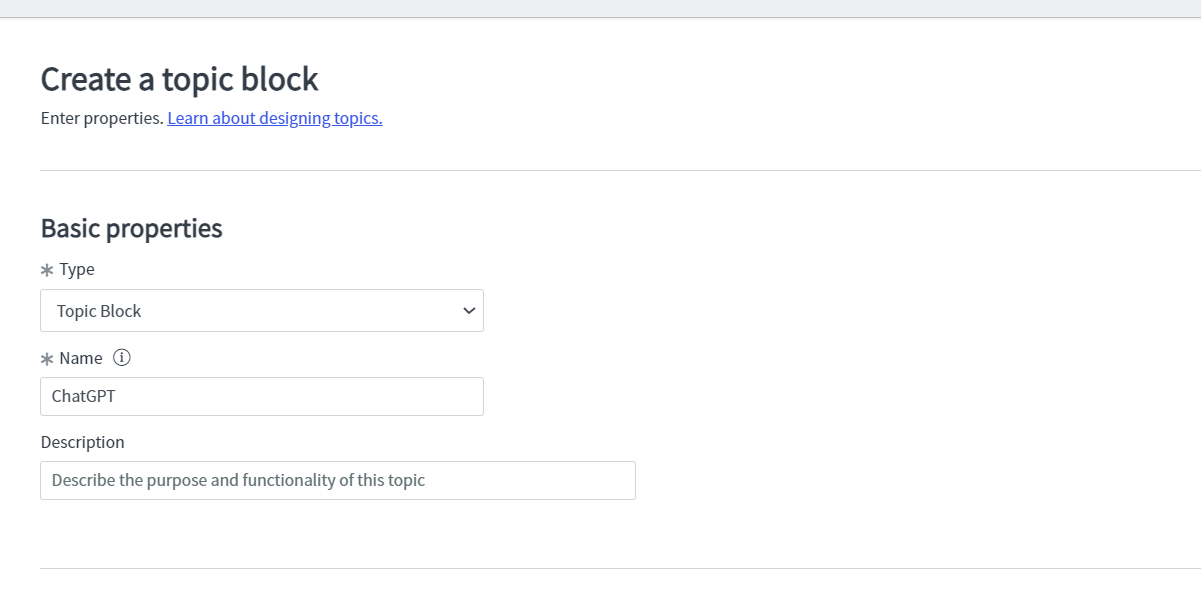
Navigate to Virtual Agent -> Designer to create a new topic block and name it accordingly
Once the block is created, click on the start Segment to create an input parameter
| Name | Type | Required |
| Request | String | True |

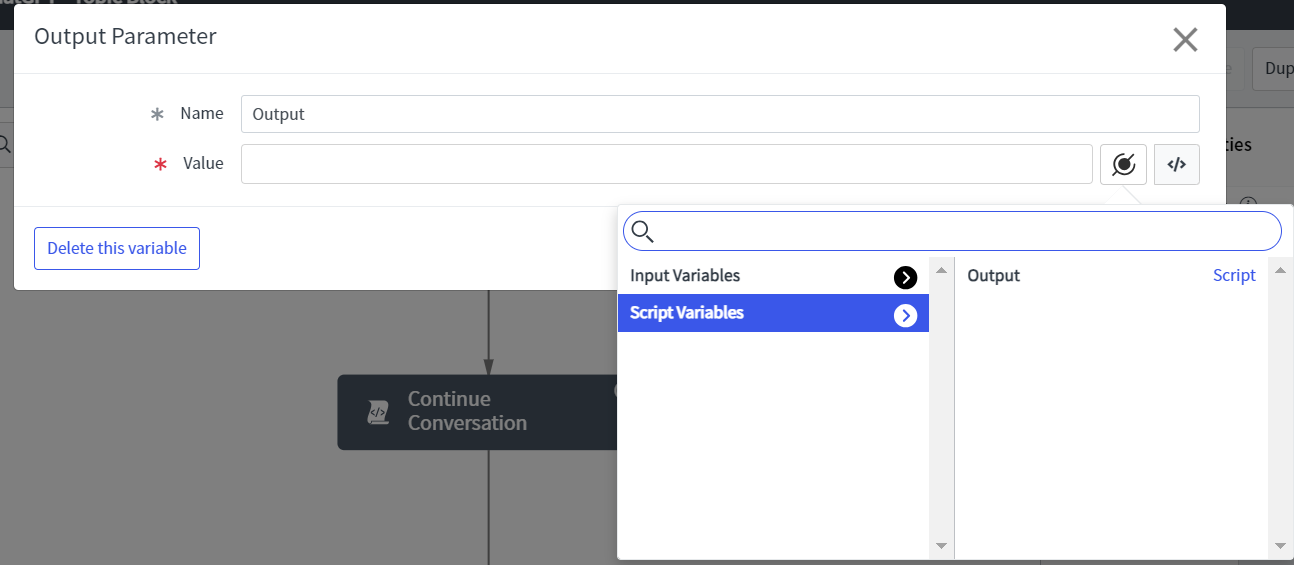
- From the bottom right script section, create a variable
| Variable Name | Type |
| Output | String |
Select a Script Action from the components on the left side
Go to the Rest Message -> HTTP Method that you have created and click on the Preview Script Usage-related links below
- A dialog box will appear. Copy all the code from it.
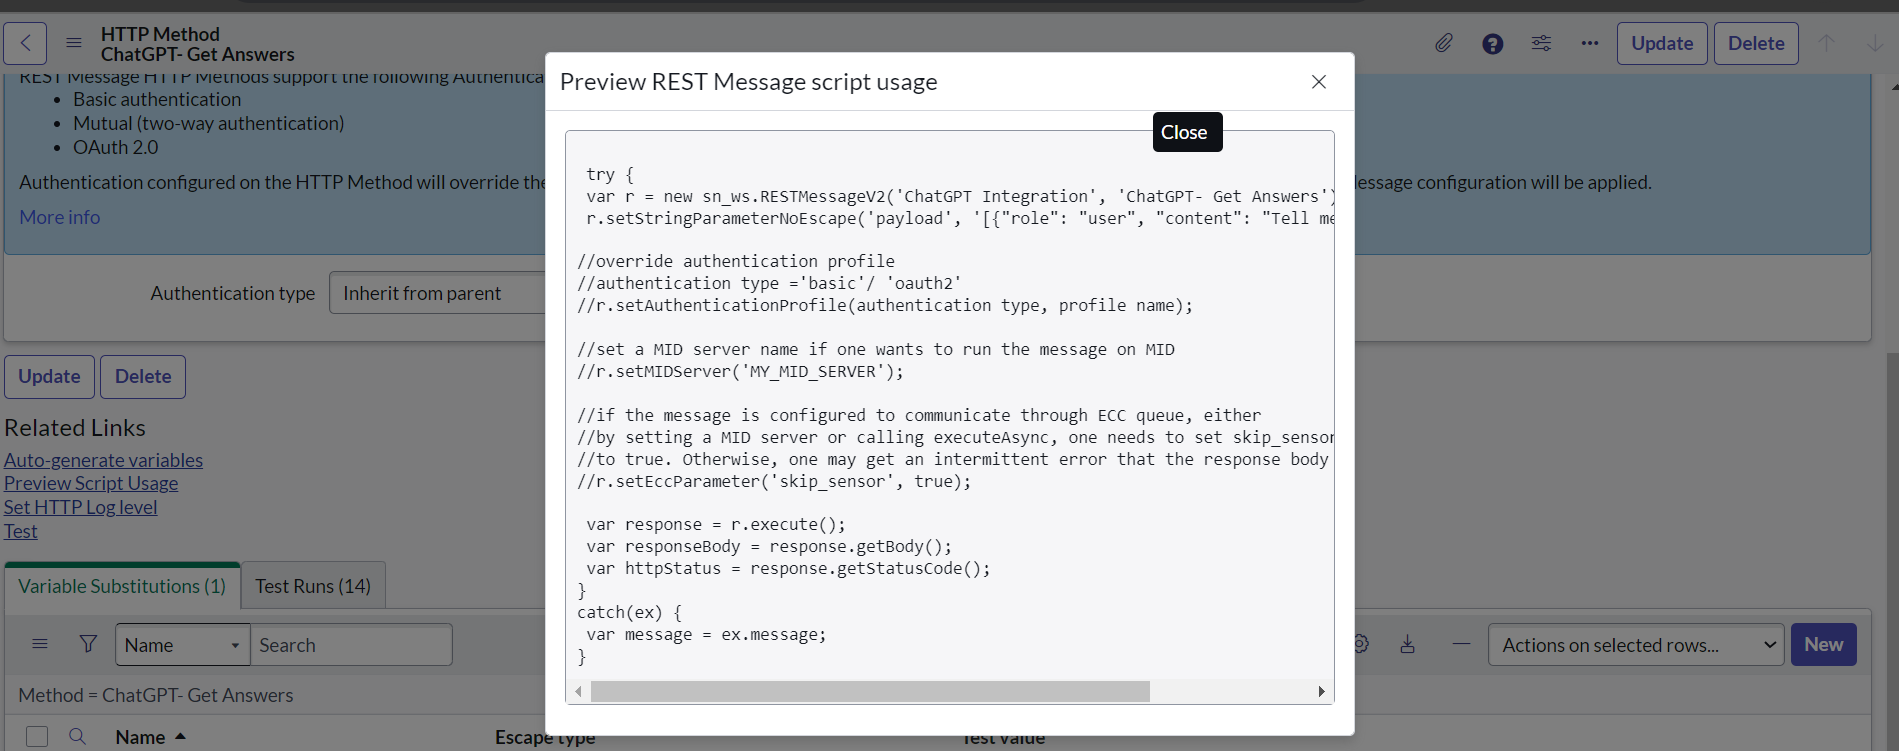
Paste this code to the script action you have just created in the designer.
Modify it accordingly.
(function execute() {

    var request = vaInputs.request.toString(); // write this as it is
    var payload = '[' + request + ']'// write this as it is


    try {
        var r = new sn_ws.RESTMessageV2('ChatGPT Integration', 'ChatGPT- Get Answers');
        r.setStringParameterNoEscape('payload', payload);

        var response = r.execute();
        var responseBody = response.getBody();
        var httpStatus = response.getStatusCode();
        var parsedBody = JSON.parse(responseBody); // write this as it is
        var output = parsedBody.choices[0].message.content; // write this as it is
        vaVars.Output = output.trim(); // write this as it is
        // vaVars.Output = httpStatus.toString();


    }
    catch (ex) {
        var message = ex.message;
        vaVars.Output = 'failure: ' + JSON.stringify(ex);
    }

})()
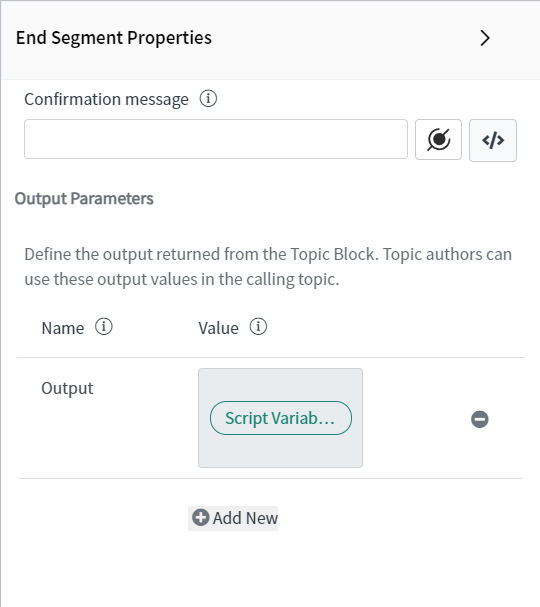
Click on End Segment Properties and create a variable Output.
Select the value from the data pill as the variable Output
- Save and publish the topic block.
B) Creating a Topic
- Navigate to Virtual Agent -> Designer to create a new topic.
- Create a new topic and name it anything you want.
Select a USER INPUT Text Component to get the user's input.
From the bottom right script section, create a variable
| Variable Name | Type |
| Request | String |
- Select a Script Utility Component and paste the following code
(function execute() {

    var input = vaInputs.enter_your_query.toString(); // getting user's input

    var user_output = { // converting it into an object
        "role": "user",
        "content": input
    };

    var output = JSON.stringify(user_output); // converting object to string
    var arr = [vaVars.Request , output]; // setting array to send to bot


// removing heading zeroes from the string and assigning value to a variable
 vaVars.Request  = arr.toString().replace(/^,/, '');

})()
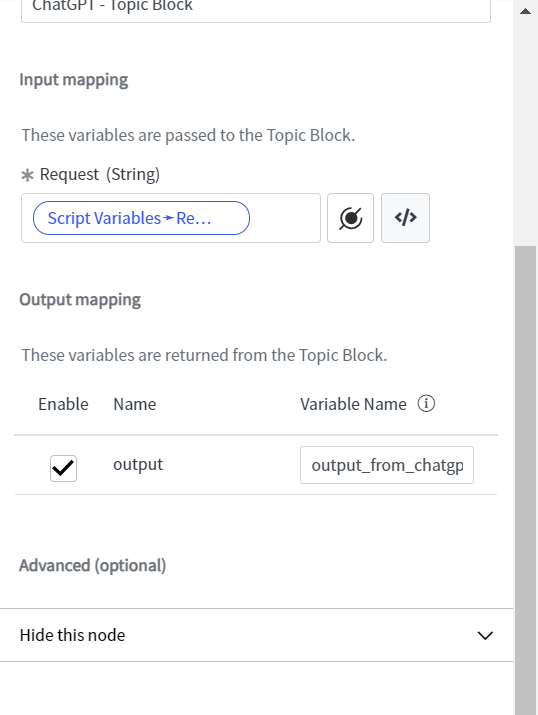
Select Topic Block Utility From the Components and select the topic block you have created.
Fill the input and output mapping as shown below
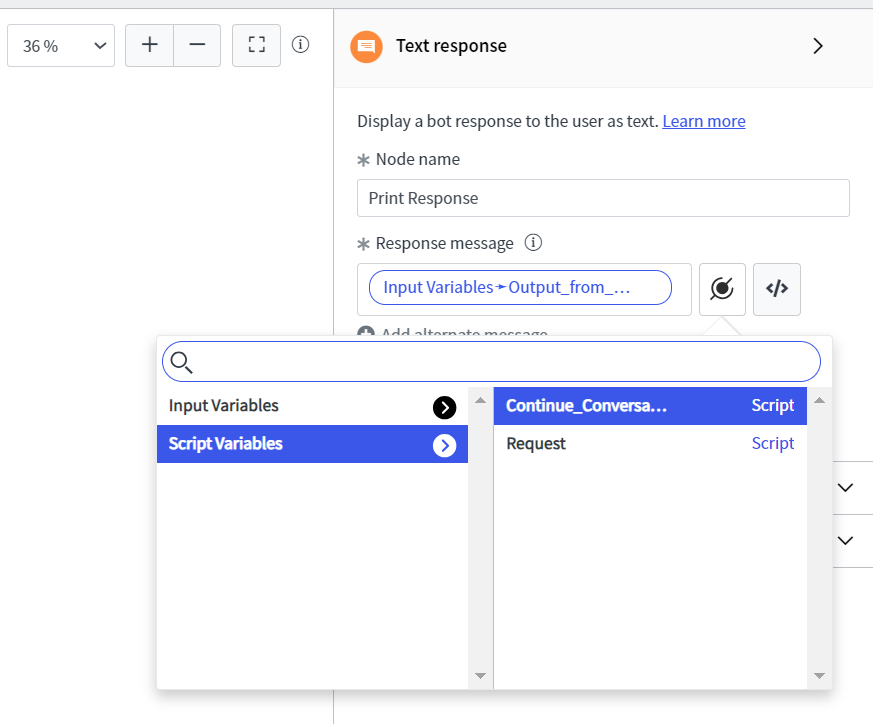
Bring a Text field to print the bot response and pass the value from the data pill
Add another Script Utility from Component and paste the following Code.
(function execute() {

    var bot_output = vaInputs.output_from_chatgpt.toString();

    var bot_output = {
        "role": "assistant",
        "content": bot_output
    };

    var output = JSON.stringify(bot_output);

    var arr =  [vaVars.Request,output];

    vaVars.Request = arr.toString();

})()
Give the user a choice to continue the conversation and if chooses to continue the conversation, move the loop to the starting point.
Save it, publish it.
Add intent and utterance and NLU model as per your requirement.
BEHIND THE SCENE - Working
So, how exactly does it works?
We are sending our question and response from the bot again and again in order to maintain the session. We are maintaining this in a form of array.
For example:
const arr = [
    {
        "role": "user",
        "content": "Tell me about ServiceNow"
    },
    {
        "role": "assistant",
        "content": "ServiceNow is a cloud-based platform offering digital workflow and operational solutions. Specializing in IT Service Management (ITSM), it automates IT processes like incident and change management. Additionally, its IT Operations Management (ITOM) provides visibility over IT infrastructure, including cloud management and service mapping. ServiceNow's Customer Service Management(CSM) enhances customer service through multiple channels, while its Human Resources Service Delivery(HRSD) streamlines HR tasks such as onboarding and benefits administration.The platform also supports custom application development and robust integration capabilities.Leveraging AI and machine learning, ServiceNow automates tasks, predicts issues, and offers intelligent insights.Prioritizing security, it ensures data protection and compliance.In essence, ServiceNow aids organizations in digital transformation by improving efficiency, agility, and innovation across various business operations."
    },
    {
        "role": "user",
        "content": "What was my question?"
    },
    {
        "role": "assistant",
        "content": "Your question was - 'Tell me about ServiceNow'"
    }
]
Summary and References
To maintain session across the chat, we can use the above approach and inorder to just have a single chat, one can skip the step 10 of Creating a Topic.
Get Development Code From Github


